
 Chicken
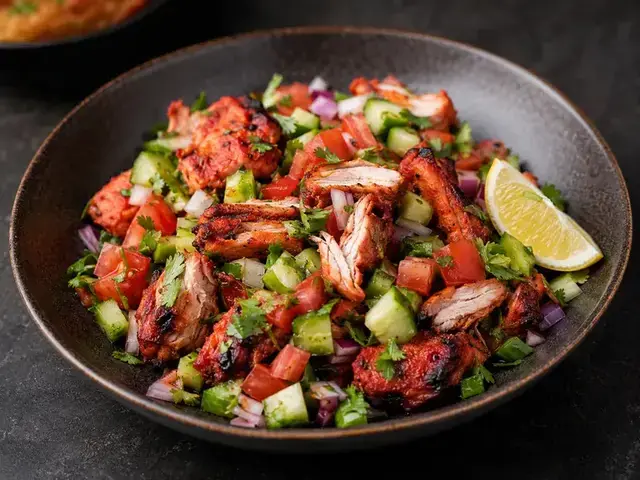
Tandoori Chicken Kachumber Salad
Tandoori chicken kachumber salad combines warmly spiced cooked chicken with a crisp tomato-cucumber-onion mixture. The yogurt marinade supplies the coating, while fresh lemon and…
This Nepali-style chicken curry uses a cooked onion-tomato masala and bone-in chicken to build a savoury gravy. Ginger, garlic and cumin give the base its aroma, while the finishing garam masala and coriander provide a fresher top note.

Follow the measured ingredients, numbered method, substitutions, safety notes and cooking mode below.
Use similarly sized bone-in pieces so the cooking times are manageable. Tomato ripeness changes acidity and liquid content. Measure the water and add only what the pan needs; chicken and tomatoes will also release moisture.
Cook onion until softened and coloured as directed, then give the tomato-spice mixture time to reduce. Coat chicken thoroughly in the masala before adding water. Simmer gently and check the thickest pieces near, but not touching, bone for at least 74°C.
A thin gravy needs uncovered reduction after the chicken is cooked; remove the meat briefly if necessary. A gritty spice flavour means the masala needed more cooking. If the bottom scorches, move the unburnt curry to a clean pan without scraping the base.
This Nepali-style chicken curry uses a cooked onion-tomato masala and bone-in chicken to build a savoury gravy. Ginger, garlic and cumin give the base its aroma, while the finishing garam masala and coriander provide a fresher top note.
1. Read firstRead every step once before switching on the cooker.
2. MeasureWeigh and prepare all ingredients in the order listed.
3. Control heatLow means a gentle bubble, medium cooks steadily, and high is for quick browning.
4. Check donenessUse the texture, timing and safe-temperature checks written in the method.
Complete one numbered step before moving to the next. Keep the heat and timing exactly as written.
The depth of this curry comes from three stages: properly browned onion, fully cooked tomato masala and a gentle simmer after the chicken is coated. Adding more spice cannot replace those stages.
Ingredient choices: Bone-in chicken gives the gravy more body and flavour than lean breast alone. Try to use pieces of similar size so they finish together. Ripe tomatoes give sweetness and acidity; very watery tomatoes may need a few extra minutes of reduction.
Cooking control: Keep the onion moving once it starts colouring, because the difference between deep golden and burnt is only a few minutes. Ground spices need moisture and moderate heat; if they stick, add a spoonful of water rather than extra oil.
Gravy target: The finished curry should have enough sauce to coat rice, but it should not look like thin soup. When you drag a spoon across the pan, the gravy should close slowly behind it.
If something goes wrong: If the curry is thin, finish uncovered. If it is too salty, add unsalted hot water and a little extra cooked tomato or chicken rather than sugar. If the spices taste raw or gritty, simmer the gravy longer. If the pan scorches, transfer the unburnt curry to a clean saucepan immediately without scraping the burnt base.
Keep raw poultry separate from ready-to-eat food and do not wash it. Check the thickest flesh and any stuffing reach at least 74°C with a food thermometer; colour and timing alone are not reliable.
Serve with steamed rice and a vegetable side. Include a little gravy with each chicken portion and make diners aware of the bones.
Refrigerate promptly in shallow covered containers at 4°C or below and use within 3 days. Reheat only the portion needed to at least 74°C throughout. Discard food left unrefrigerated for more than 2 hours, or 1 hour above 32°C.
Chicken
Tandoori chicken kachumber salad combines warmly spiced cooked chicken with a crisp tomato-cucumber-onion mixture. The yogurt marinade supplies the coating, while fresh lemon and…
 Chicken
Chicken coconut curry combines a ginger-garlic tomato base with coconut milk and tender thigh pieces. Cumin and coriander provide warm spice, while lime keeps…
 Chicken
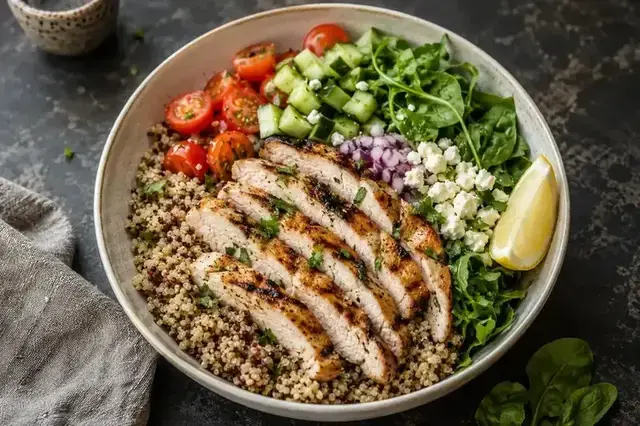
This grilled chicken quinoa bowl combines lean sliced chicken, fluffy grains and crisp raw vegetables with a lemon-herb dressing. The quinoa should remain loose…
No reviews yet. Be the first to rate this recipe.