
 Botanical
Shanghai Vegetable Fried Rice
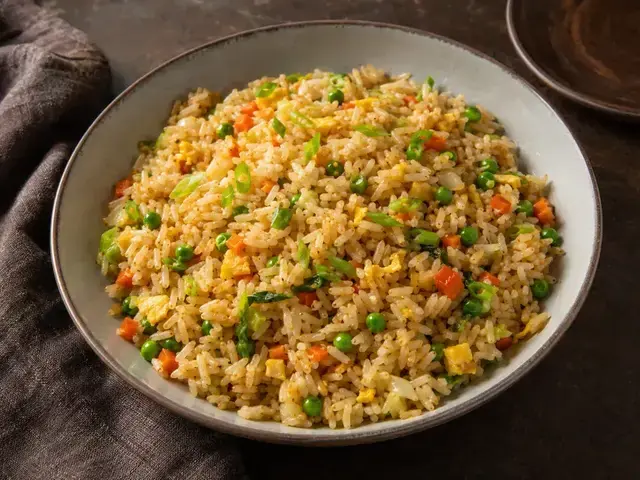
Vegetable fried rice uses separate cooked grains with small pieces of carrot, mushroom and peas. Spring onion whites flavour the pan, while the greens…
Sweet-and-sour chicken pairs crisp-coated chicken with pineapple, peppers and a glossy vinegar-tomato sauce. The sauce should be tangy as well as sweet. Crispness lasts longest when chicken and sauce are combined immediately before serving.

Follow the measured ingredients, numbered method, substitutions, safety notes and cooking mode below.
Pat evenly cut chicken pieces dry before coating. Pineapple juice and ketchup both contribute sweetness, so measure them alongside the sugar. Keep the finishing cornflour slurry separate from the flour used on the chicken.
Fry chicken in batches to a 74°C centre and drain on a rack. Cook vegetables briefly so they keep some bite, then simmer and thicken the sauce. Toss cooked chicken through only when all other components are ready.
Soggy coating usually reflects early saucing or low frying heat. A thick jelly-like sauce needs a little water and gentler reduction. If too sweet, add vinegar incrementally to a test spoonful before adjusting the whole pan.
Sweet-and-sour chicken pairs crisp-coated chicken with pineapple, peppers and a glossy vinegar-tomato sauce. The sauce should be tangy as well as sweet. Crispness lasts longest when chicken and sauce are combined immediately before serving.
1. Read firstRead every step once before switching on the cooker.
2. MeasureWeigh and prepare all ingredients in the order listed.
3. Control heatLow means a gentle bubble, medium cooks steadily, and high is for quick browning.
4. Check donenessUse the texture, timing and safe-temperature checks written in the method.
Complete one numbered step before moving to the next. Keep the heat and timing exactly as written.
Keep fried chicken and sauce separate until service; early mixing softens the coating.
Ingredient choices: Pat evenly cut chicken pieces dry before coating. Pineapple juice and ketchup both contribute sweetness, so measure them alongside the sugar. Keep the finishing cornflour slurry separate from the flour used on the chicken.
Cooking control: Fry chicken in batches to a 74°C centre and drain on a rack. Cook vegetables briefly so they keep some bite, then simmer and thicken the sauce. Toss cooked chicken through only when all other components are ready.
If something goes wrong: Soggy coating usually reflects early saucing or low frying heat. A thick jelly-like sauce needs a little water and gentler reduction. If too sweet, add vinegar incrementally to a test spoonful before adjusting the whole pan.
Keep raw poultry separate from ready-to-eat food and do not wash it. Check the thickest flesh and any stuffing reach at least 74°C with a food thermometer; colour and timing alone are not reliable.
Serve promptly with plain rice prepared separately. Distribute pineapple and peppers with the chicken instead of leaving them in the bottom of the pan.
Refrigerate promptly in shallow covered containers at 4°C or below and use within 3 days. Reheat only the portion needed to at least 74°C throughout. Discard food left unrefrigerated for more than 2 hours, or 1 hour above 32°C.
Botanical
Vegetable fried rice uses separate cooked grains with small pieces of carrot, mushroom and peas. Spring onion whites flavour the pan, while the greens…
 Botanical
Vegetable spring rolls enclose a finely cut, relatively dry vegetable filling in crisp wrappers. The filling is cooked before rolling, so the frying stage…
 Botanical
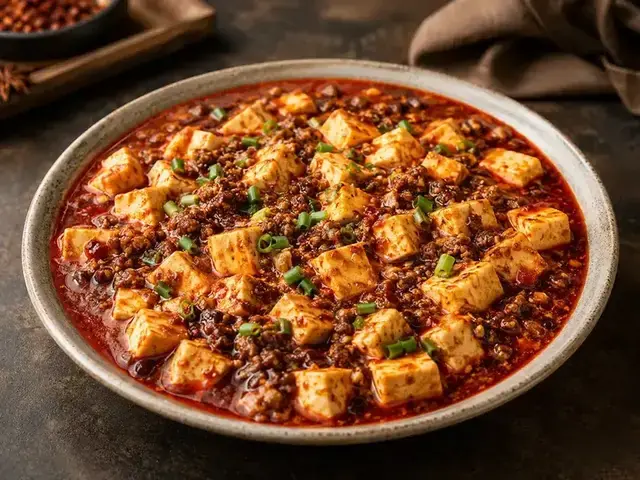
This vegan mapo-style tofu uses finely chopped mushrooms for savoury depth in a chilli-bean sauce. Sichuan pepper supplies a tingling finish, while tofu contributes…
No reviews yet. Be the first to rate this recipe.